Ever stared at a salad bar and wished those crisp, tender kale baby leaves were just a snip away in your own kitchen? In a world buzzing with busy schedules and pricey greens, growing your own kale baby leaves at home unlocks fresh, nutrient-packed harvests without the hassle. Stick around as we spill the easy secrets to cultivating tender kale right on your windowsill – you’ll be munching on homegrown goodness in weeks!
What Are Tender Kale Baby Leaves?
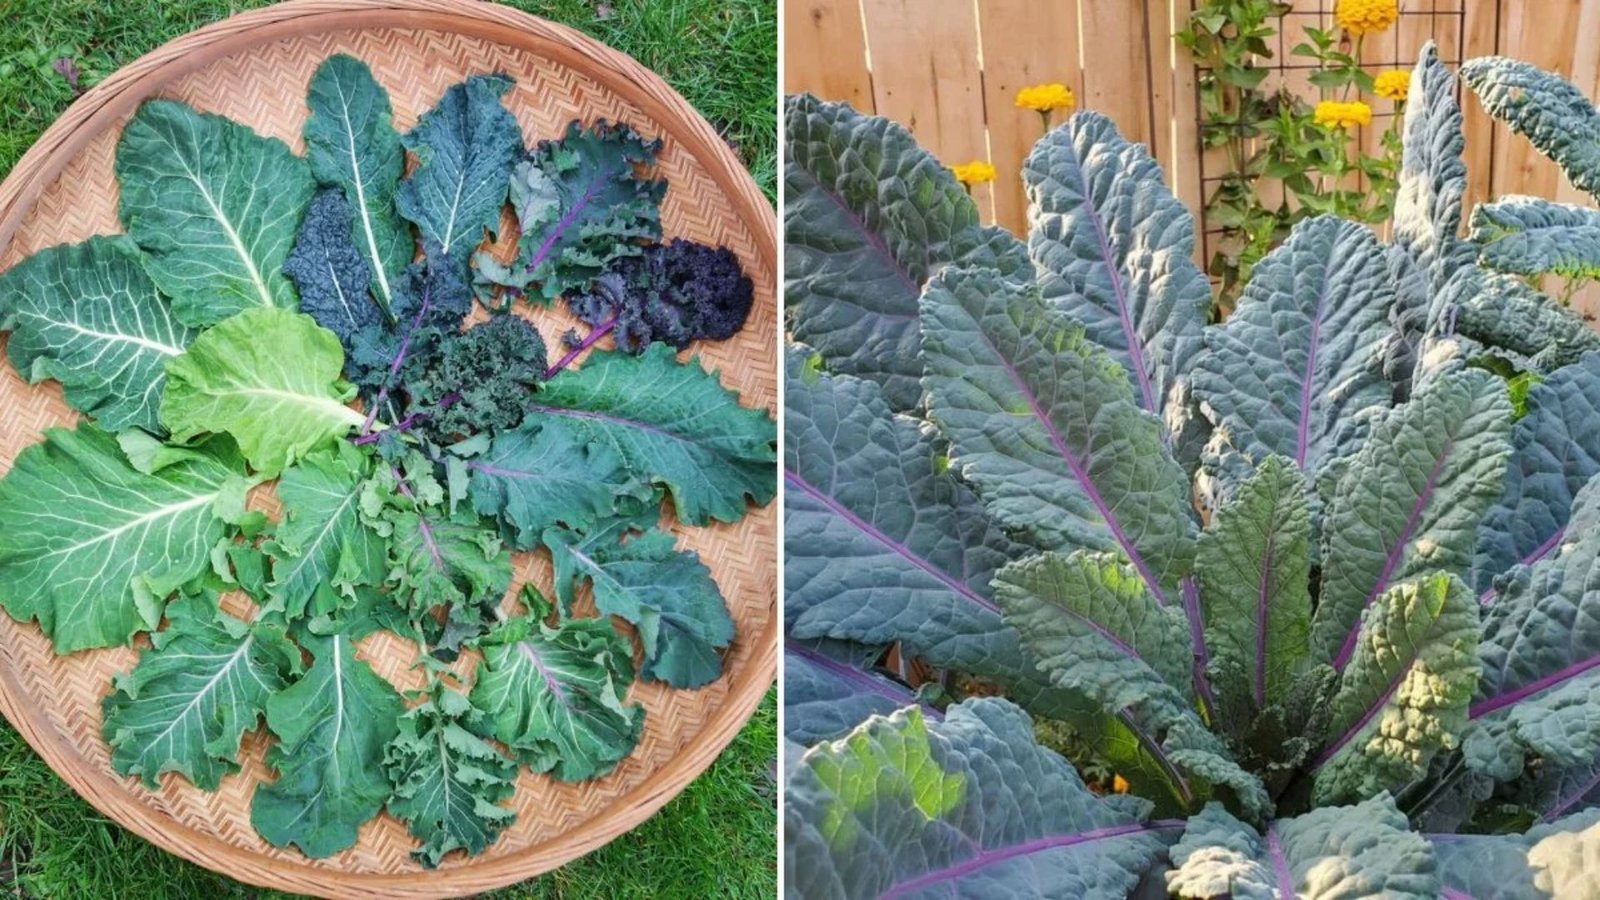
Tender kale baby leaves are the young, soft shoots of kale plants, harvested just 2-4 weeks after planting. Unlike tough mature kale, these mini greens are buttery and mild, perfect for salads or smoothies. They’re a staple in home gardening for their quick growth and endless versatility.
A Quick History of Kale in Home Gardens
Kale traces back to ancient Greece around 2000 BC, where it was a hardy crop for tough winters. Fast-forward to the 21st century: urban gardeners revived it during the “superfood” boom of the 2010s. Today, cultivating kale baby leaves at home nods to this legacy, blending old-school resilience with modern ease.
Why Grow Kale Baby Leaves Today?
In our fast-paced lives, homegrown kale baby leaves cut grocery bills by up to 50% and slash food miles for eco-wins. Packed with vitamins A, C, and K, they boost health without the bitterness of full-grown bunches. Plus, it’s therapeutic – nothing beats the zen of watching sprouts unfurl.
Step-by-Step: How to Cultivate Tender Kale Baby Leaves at Home
Ready to dive in? Start with quality seeds from a trusted supplier. Fill shallow trays with moist potting soil, scatter seeds lightly, and press gently. Water softly and cover with plastic for humidity. Place in a sunny spot (60-70°F). In 10-14 days, thin seedlings to 1-inch spacing. Harvest outer leaves when 2-3 inches tall – repeat for months!
Benefits of Baby Kale vs. Mature Kale
| Feature | Baby Kale Leaves | Mature Kale |
|---|---|---|
| Texture | Tender, buttery | Chewy, fibrous |
| Flavor | Mild, sweet | Earthy, slightly bitter |
| Harvest Time | 2-4 weeks | 6-8 weeks |
| Nutrition | High in vitamins (per cup) | Similar, but denser |
| Best Uses | Salads, garnishes | Soups, chips |
Fun Facts and Stats on Kale Cultivation
Did you know kale is one of the oldest cultivated veggies, outdating broccoli by centuries? In the U.S., home gardeners produce over 1 million pounds of kale yearly, per USDA data. Baby leaves yield 3x more per square foot than mature plants – talk about efficient growing!
Quick Kale Yield Comparison
| Growing Method | Yield per Sq Ft (lbs) | Time to First Harvest |
|---|---|---|
| Windowsill Trays | 0.5-1.0 | 3 weeks |
| Outdoor Beds | 1.0-2.0 | 4-5 weeks |
| Hydroponics | 1.5-2.5 | 2-3 weeks |
Pro Tips from Gardening Pros
Keep soil consistently damp but not soggy to dodge root rot. Rotate trays for even light – aim for 4-6 hours daily. Mix in compost for nutrient boosts. For flavor twists, try curly or lacinato varieties. And remember: succession planting every two weeks means non-stop tender kale baby leaves!
Frequently Asked Questions
How much space do I need to grow kale baby leaves at home?
Just a sunny windowsill or small balcony – trays fit anywhere!
Can I eat kale baby leaves raw?
Absolutely! They’re perfect tossed in salads for that fresh crunch.
What if my kale sprouts look leggy?
More light, friend – move closer to the sun or add a grow lamp.
Are kale seeds safe for beginners?
Yes! They’re forgiving and sprout reliably in most conditions.
In wrapping up, cultivating tender kale baby leaves at home isn’t just a garden hack – it’s your ticket to fresher eats, greener thumbs, and wallet-friendly wins. Grab those seeds, follow our simple method, and watch your kitchen bloom. Share your first harvest pics in the comments, or explore our guides on microgreens next. Happy growing!